Neon lights look great in photos and often serve as the perfect backdrop for Instagram. However, because of their brightness, they are not always easy to photograph. Here are our top tips for getting great photos of your new neon!

Beware of brightness
The most important thing to remember when taking pictures of your neon is to use the dimmer to set the brightness as low as possible. This will prevent the image from being too contrasty or overexposed.
If you're using a phone to take your photos, adjust and lock in the exposure settings so that your neon is neither too bright nor too dark. If you're using a professional camera, play with aperture, shutter speed, ISO and white balance until you're happy.

Control the outside light
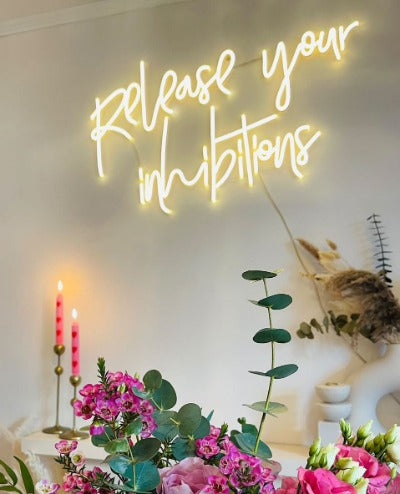
Observe the location of your neon sign for a few days and make sure you choose the best time of day to take your photo. For example, it may not be advisable to photograph your sign in direct sunlight. As a general rule, the best daylight conditions for photographing a neon sign are usually just before sunrise or just after sunset, so that the environment is still visible in the photo but the sign stands out.
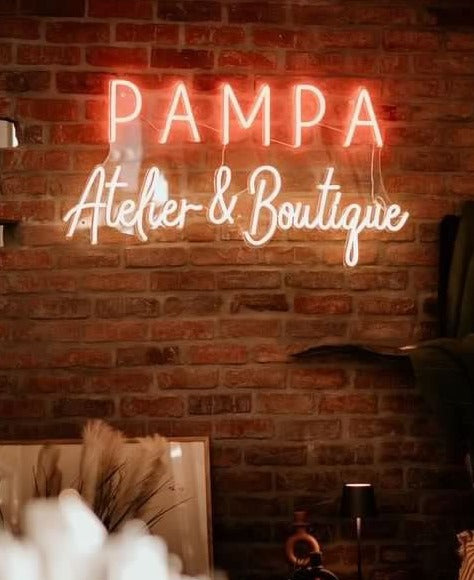
Also think about other light sources (for example, a lamp next to your sign or a ceiling light) and the impact they can have on the image of your neon. It's usually best to turn off all other light sources to make your neon sign stand out, but there are no hard and fast rules and you can achieve impressive results by playing with other light sources as well

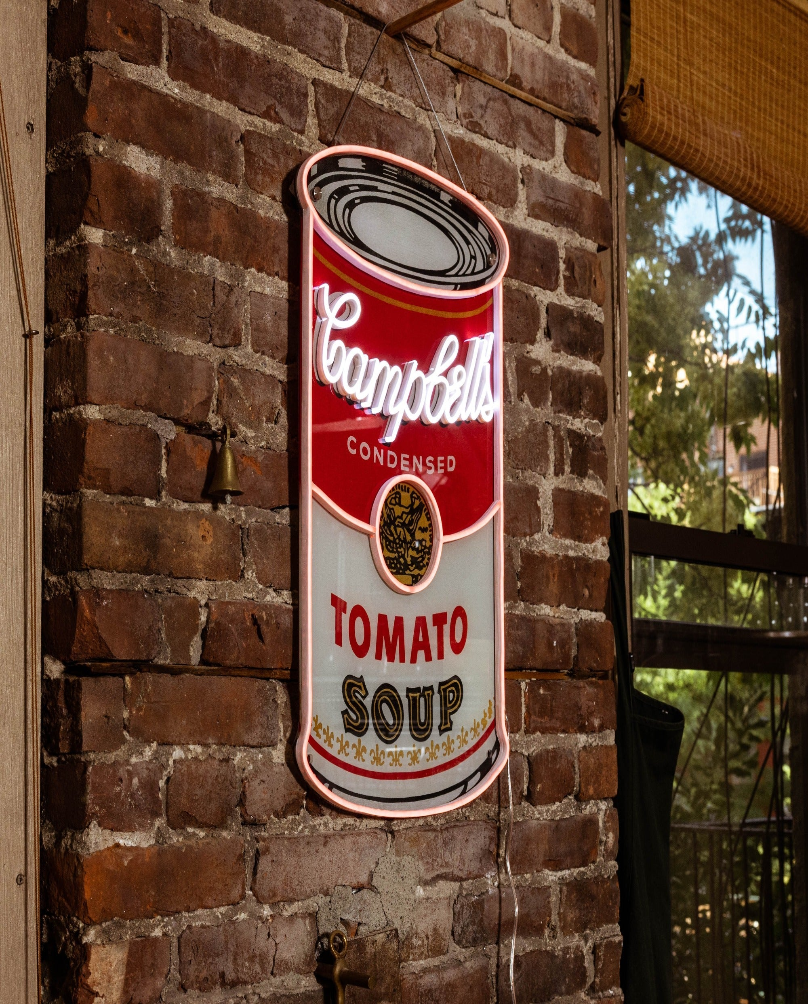
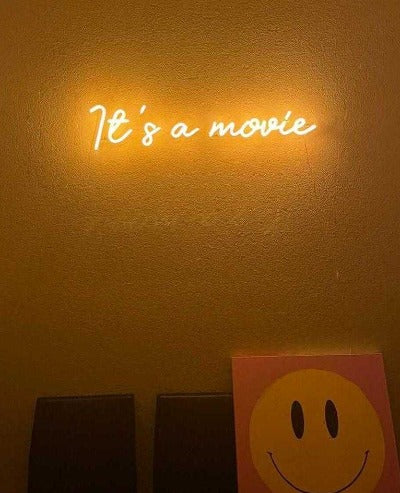
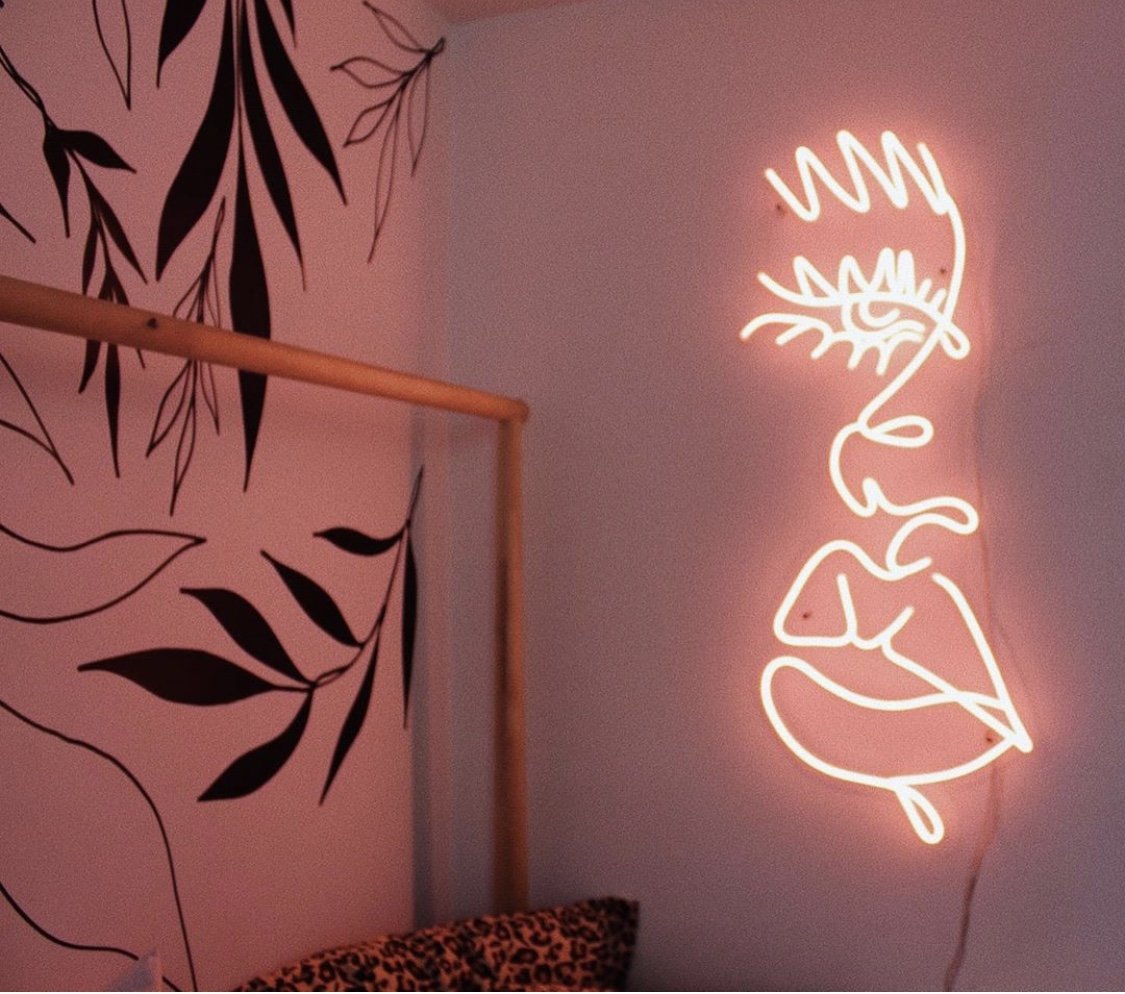
Don't forget the space around
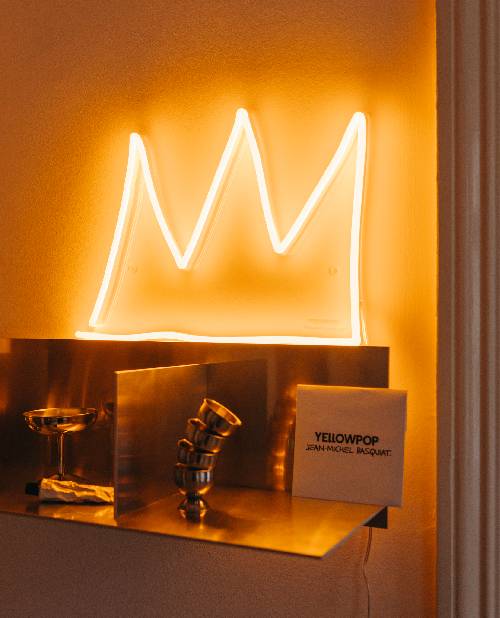
This isn't strictly photography related, but it's good to think about the background you'll be installing your neon on. You probably bought your neon with a specific location in mind, but before you install it, you may want to adjust the space to make your neon stand out even more. Some fun things to consider include wallpaper, a unique color or frames to create a gallery wall.

Playing with angles
Don't be afraid to try different perspectives - here are some types of shots you can play with:
Shooting at eye level (stand in front of the neon sign, you viz and you trigger).
Low-angle shot (get close to the ground, camera aimed at the neon)
Broken shot (tilt the camera to one side so that it is not aligned with the horizon)
It's a matter of trial and error to find the angle you like best. Remember, there is no right or wrong, it's all about finding the perspective that you think makes your neon stand out the best!

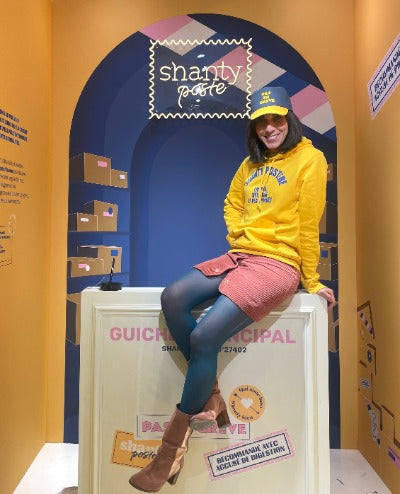
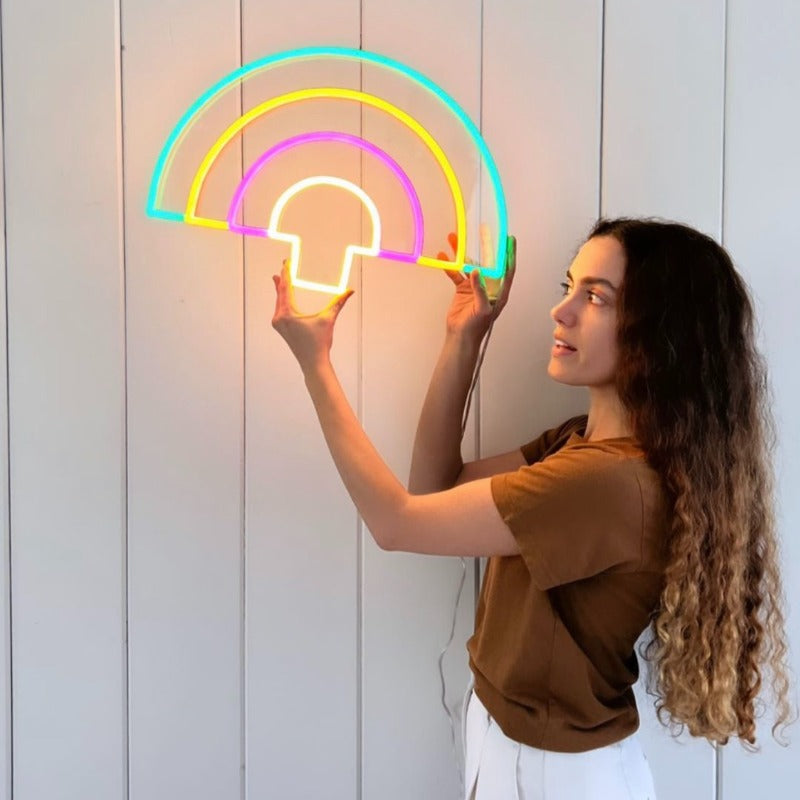
Add accessories or a template
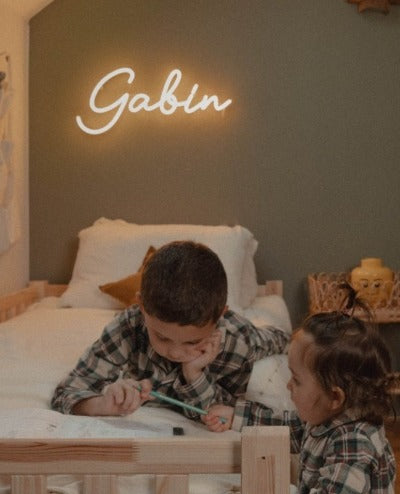
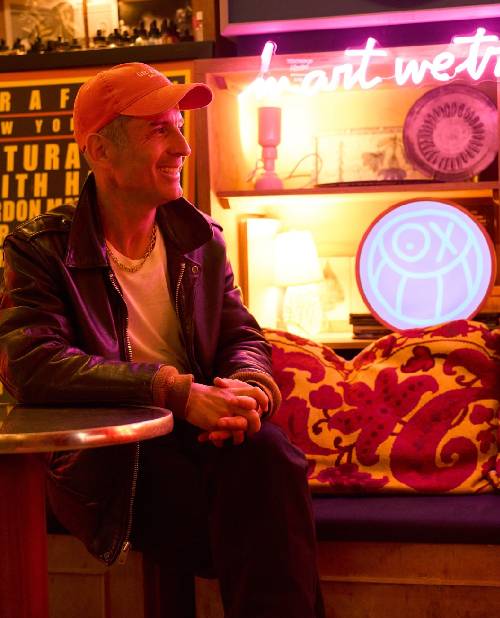
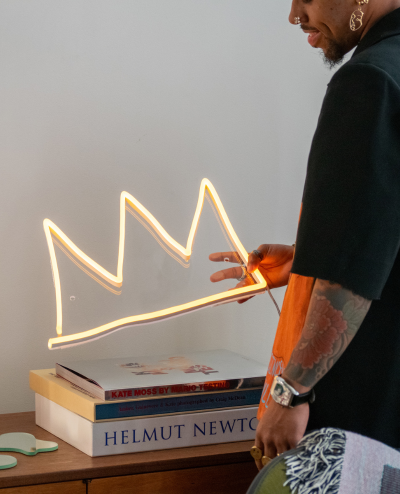
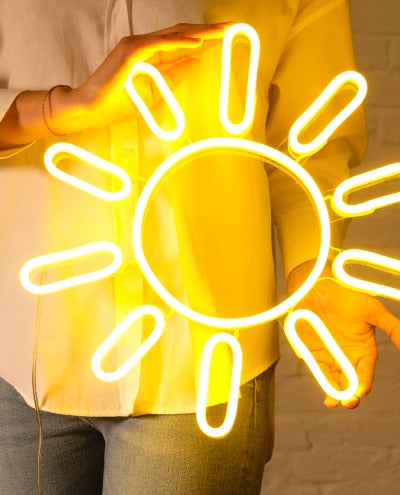
Playing with props or models can also be a fun way to make your photo more unique and personal. Consider asking someone to pose with the neon sign - don't just ask them to stand in front of the sign, but rather try different perspectives and positions to make your photo more creative. You can also pose yourself if you feel like it, using a timer or having someone take the photo for you.
If you don't want to be the star of the picture, you can accessorize your neon sign by placing a few decorative elements around it, such as a pretty plant or a chair and some magazines.
It is by forging that one becomes a blacksmith
The most important thing to remember is that getting a good shot takes time. You have to experiment with different settings, angles and ideas until you get the shot that really works for you. The good news is that the more you do this, the easier it will be to get a good shot, whether it's a neon sign, a pair of shoes, a glass of wine or anything else.
For more inspiration, check out our Love Wall, a compilation of the coolest neon lights we've made, shared by our community of stylish people and badass brands.